Welcome to Part 2 of the Angular series where you will learn how to set up Angular on your machine using Angular CLI, the VS Code Editor and run you first angular application. In this process you will be learning some of the basic commands, do note if you are new to Angular then I will highly recommend to watch part 1 of the video which takes you on the journey of what is Angular, why you need angular and what are the different components you need to know in an Angular application
Part 1: https://helpmecoder.com/2019/03/26/angular-tutorial-introduction-to-angular/
Prerequisite: Get your Editor
Editor is the primary tool for doing any programming and before we start setting up Angular lets download one such editor called “Visual Studio Code” you can download from https://code.visualstudio.com/download

- Editor is developed by Microsoft and runs on all platform (Windows, Linux and OS X)
- It is Free and Open Source
- Includes Syntax Highlighting, intelliSense and autocomplete
I prefer VSCode Editor but it’s your personal preference as we have other Editors in market as well like
- Sublime Text (https://www.sublimetext.com/)
- Atom Editor(https://atom.io/)
- Webstorm (https://www.jetbrains.com/webstorm/)
- Angular IDE (https://www.genuitec.com/products/angular-ide)
- Brackets (http://brackets.io/)
You can give them also a try, Do let me know which Editor you prefer and why?
STEP 1: Installing Node.js and NPM
You may think “why Node.js”, we are talking about Angular installation and not Node!
We need Node.js as this provide NPM which is Node Package manager which will eventually allow you to download Libraries and packages that you need for angular application (So basically you download Angular CLI with this NPM).
So let’s start with the first step, Open the Node.js download page from here. https://nodejs.org/en/download/current/)

And then based on your OS, weather its 64 bit or 32 bit download the latest version and then install.

To make sure that the current version of the Node and NPM is installed you can open the VSCode Editor (Integrated Terminal Window) or the command prompt to check the version
  node –v
  npm –v
(I did not install the latest because of some project work but for angular it is advised to have the latest installation of npm and node)
STEP 2: Install Angular CLI
Do we need to Install Angular CLI for setting up Angular application?
Not really, we can have the angular setup without the Angular CLI, but some of the reason no one prefer doing this manually is because
- Manual setting up Angular is time consuming.
- In manual setting we have to deal with lots of different component, files and structure which can be error prone
- As the structure of feature like components, directives, services etc. is same and you usually will require lot of them to be created, hence the CLI can serve these boilerplate code quickly, with best practices and conventions. (In a development you should follow the same coding consistency and standard, doing these thing manually without CLI is hard to achieve)
To install angular CLI, using the following command:
npm install -g @angular/cli -g signifies the global tag.
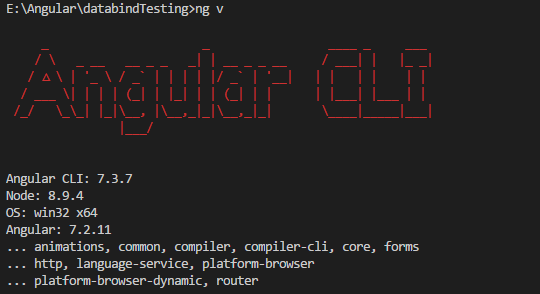
To verify the version of Angular installed which we can check using ng v

STEP 3: Creating the first Project
Firstly, to create our first project and in order to do that we will use the command
ng new my-first-angularMake sure you reach out to the folder where you want to create the application and then type in the above command. This may take some time so have patience sit back and relax. It will create a folder “my-first-angular” with all the initial angular files packages and there dependencies.

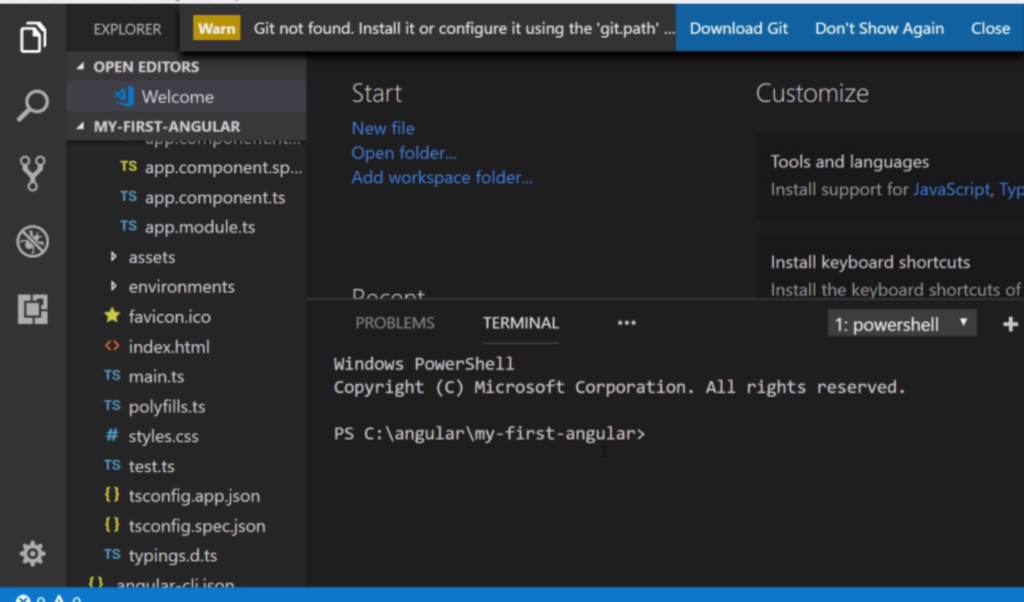
Secondly, now let’s navigate to the folder where the project is created and open the code editor to see the solution
    PS C:\angular>cd my-first-angular
    PS C:\angular\my-first-angular\code .
Thirdly, to run the application now, on the terminal window type the command
PS C:\angular\my-first-angular\ng serve --openThe ng serve command builds the app, starts the development server, watches the source files, and rebuilds the app as you make changes to those files.
The –open flag opens a browser to http://localhost:4200/


